The Smart Happy Project: How to make a snowflake!

The Smart Happy Project: How to make a snowflake!

Lisa's new monthly blog will help you develop a new superpower - to find the patterns in nature. Today, learn about symmetry and chaos in a snowflake.

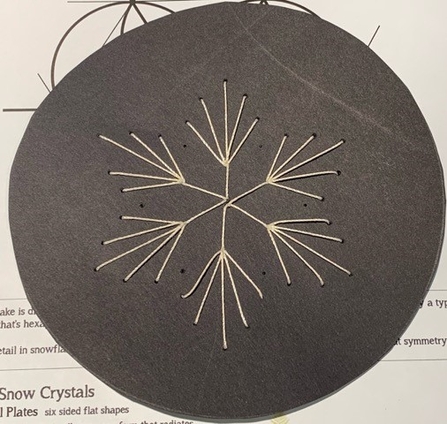
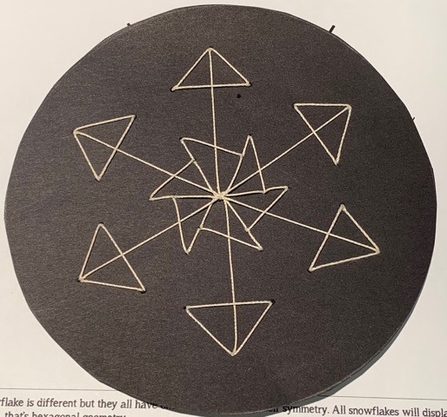
There are two qualities that make up the detail of the snowflake. Symmetry and Chaos. Water vapour is the only ingredient.

As water vapour crystallises it wants to have a sixfold or ‘hexagonal’ pattern - that’s its symmetry bit. The different weather is the chaos bit. The water vapour will experience lots of different temps and fluctuations which break that symmetry.

No two snowflakes experience the same and that means no two snowflakes will be the same. The different weather that the water vapour (which will become our snowflake) is exposed to as it falls through the atmosphere causes the symmetry to form in different versions or break the symmetry completely.

Watch along as Lisa tells us all about snowflakes, symmetry and chaos!

In this threading activity you get to be the chaos bit. You can run wild with your designs and make any pattern you like. The geometry template you use is the symmetry part. Watch the video then print off the sheet with the geometry pattern to have a go. Instructions are below.

Some snowflakes are exposed to so much chaos that much of the symmetry is broken and it all looks like a jumble of broken bits, or some snowflakes experience a less chaotic journey and when examined display their symmetry so beautifully.

Wilson A Bentley - snowflake 1890

Wilson Bentley lived in the early 20th Century and photographed many snowflakes under a microscope. He became known as ‘the Snowflake Man’ - look him up! He photographed so many snowflakes and made a catalogue of all the different types of snowflakes he discovered which were given different names like Dendrite or Platelet.

Snowflake 3

What you will need: Print out the download at the bottom of the page, a needle, some thread, some black card.

Instructions: 

1. Print off the download sheet and cut out around the geometry pattern.
2. Position over a piece of black card with a cork board underneath. Hold it firmly in place while you pierce holes with the needle at the points in the geometry pattern. Make sure you pierce holes evenly around the pattern.
3. Remove the template and check you can see where your holes are.
4. With needle and white thread (to show up on your black card) start threading a branching snowflake pattern using the holes as guides. You can thread them in any chaotic pattern you like, just try to repeat it six times around your snowflake.
If transferring to the black card is too tricky, you can glue the template to card and punch holes straight through this. Then use red or brightly coloured thread as I did in the video. I’d love to see some of your designs.

Parent/educator resources:
Download the PDF of the snowflake template to print out for the activity here.
Different ranges of temperature create the different structures of snowflakes. This PDF https://www.nasa.gov/pdf/183517main_snowcrystals.pdf list the main types with images.
Go to https://thesmarthappyproject.com/hexagon-geometry-snowflake/ for more on why the hexagonal geometry appears in the snowflake.